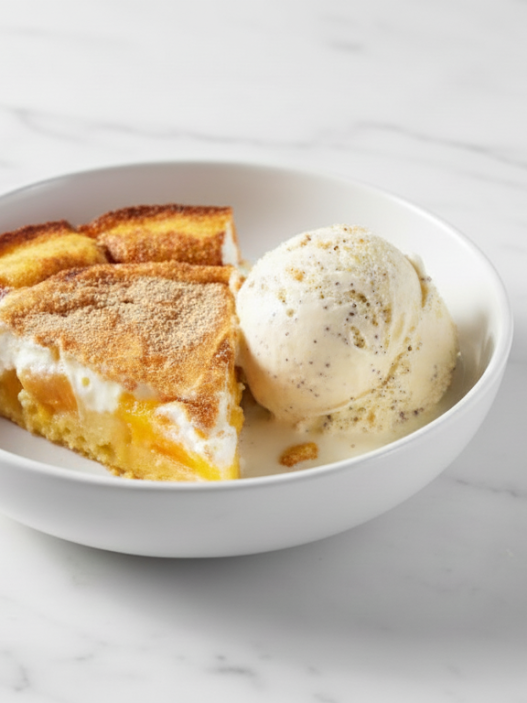


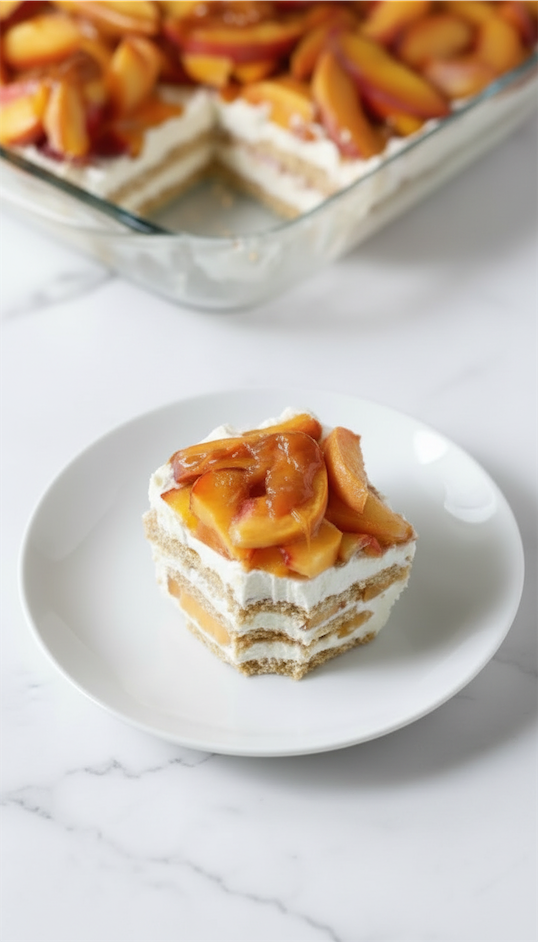
This peach icebox cake is creamy, lightly sweet, and layered with soft biscuits that turn cake-like after a few hours in the fridge. It’s a perfect chilled, no-bake dessert that is great for summer BBQs, cookouts or even picnics!
You can use fresh or canned peaches, so it works year-round! Fresh gives you that juicy, summery vibe, while canned keeps things easy and consistent. Either way, you’re getting soft fruit, fluffy cream, and layers that melt together into something so good.
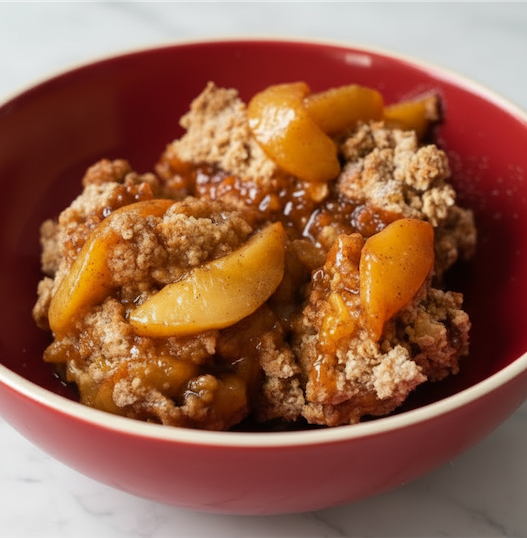
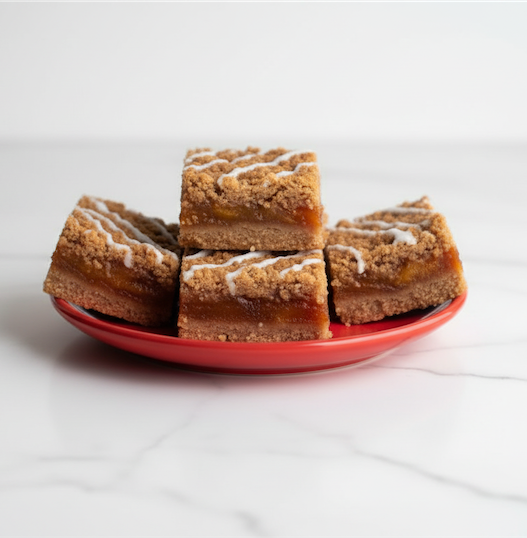
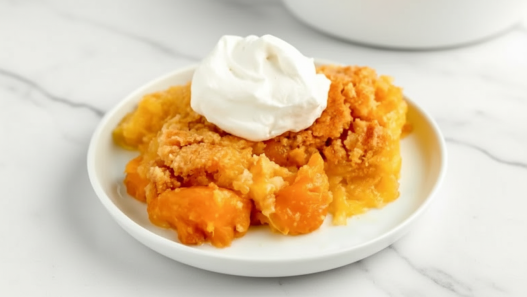
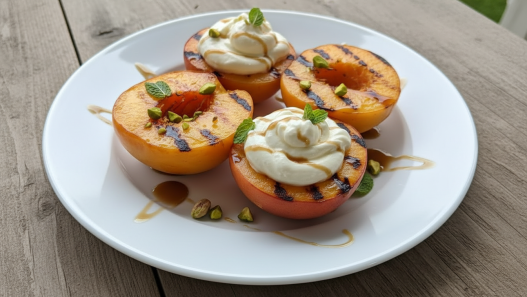
You May Also Like
What Makes a Great Peach Icebox Cake?
A few things make up the perfect peach icebox cake…
- Balanced sweetness, not too sugary, just fresh and creamy
- Soft, tender fruit, whether fresh or canned, texture matters
- Light whipped cream, fluffy and not overly heavy
- Layer transformation: crackers that soften into cake-like layers
- A hint of brightness, usually from citrus to lift everything
The Whipped Cream Layer
This is what gives the cake its signature texture. Light, airy, and just sweet enough to complement the peaches without overpowering them.
What You’ll Need for the Whipped Cream
- 4 cups heavy cream, for that rich, fluffy base
- 1/2 cup powdered sugar, smooth sweetness that blends easily
- 1 teaspoon vanilla extract, adds warmth and depth
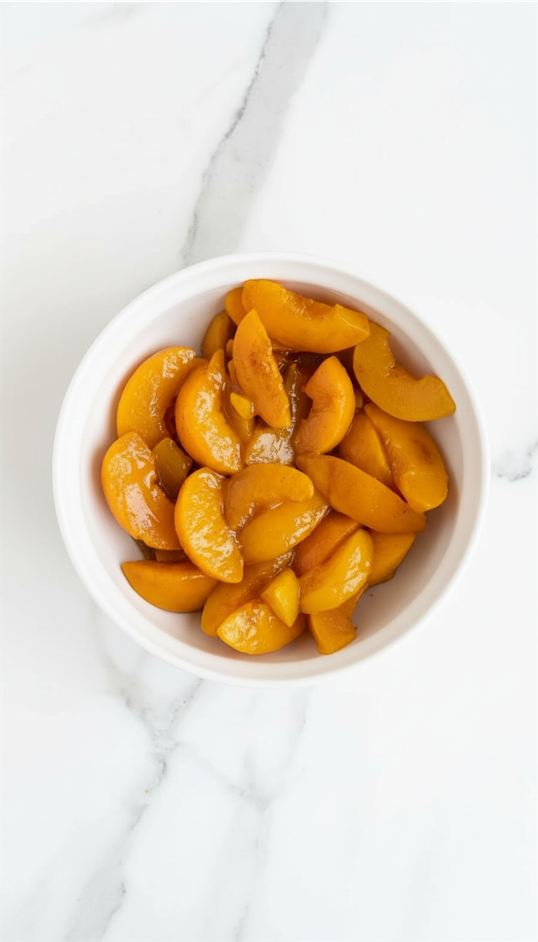
The Peach Layer (Fresh or Canned)
Fresh peaches bring a juicy, slightly floral sweetness. Canned peaches are softer, sweeter, and super convenient.
Both work beautifully, you just need to treat them a little differently.
What You’ll Need for the Peach Layer
- 6 large peaches, sliced (or about 3 cans, drained), fresh or canned both work
- 1 to 2 tablespoons lemon juice (optional), it can just help balance out the sweetness of canned peaches
If using fresh peaches:
- Choose ripe but slightly firm fruit for the best texture
- Toss with lemon juice to keep them vibrant and flavorful
If using canned peaches:
- Go for peaches in juice rather than heavy syrup if possible
- Drain really well
- Lightly pat dry with paper towels to avoid excess moisture
- Taste one, if it’s very sweet, toss with 1 to 2 teaspoons lemon juice to balance things out
The Crunchy Layers
These are what transform into soft, cake-like layers after chilling. It’s kind of magic, honestly.
What You’ll Need for the Layers
- 24 graham crackers, slightly sweet and sturdy enough to hold everything
The Optional Caramel Drizzle
Totally optional, but also… highly recommended.
It adds a buttery richness that pairs perfectly with the peaches and cream.
What You’ll Need for the Caramel
- 8 ounces soft caramels, unwrapped
- 2 tablespoons heavy cream, to make it smooth and pourable
How to Make Peach Icebox Cake
Whip the Cream
Add the heavy cream, powdered sugar, and vanilla extract to a large bowl. Start mixing slowly, then increase the speed as it thickens.
You’re aiming for soft peaks that hold their shape but still look smooth and fluffy.
Prep the Peaches
If you’re using fresh peaches, slice them and toss with lemon juice. Let them sit for a few minutes so they soften slightly and release a bit of juice.
If you’re using canned peaches, drain them thoroughly, then lightly pat dry. Slice them if needed.
Now taste one.
If they’re too sweet, toss them with 1 to 2 teaspoons lemon juice. This helps cut through the sweetness and keeps the dessert from feeling too heavy.
Build the First Layer
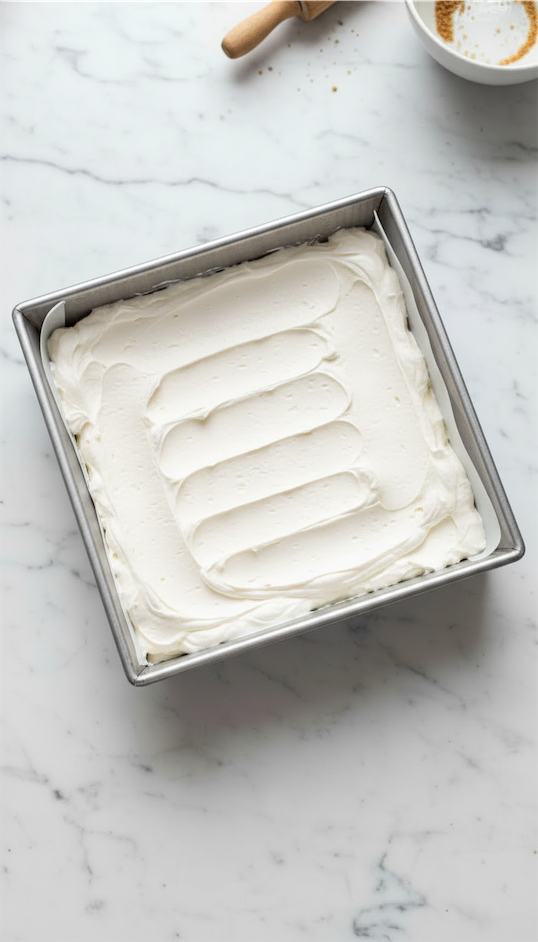
Spread a thin layer of whipped cream on the bottom of your dish. This helps everything stay in place.
Now for the graham crackers, don’t crush them. You want large pieces, not crumbs.
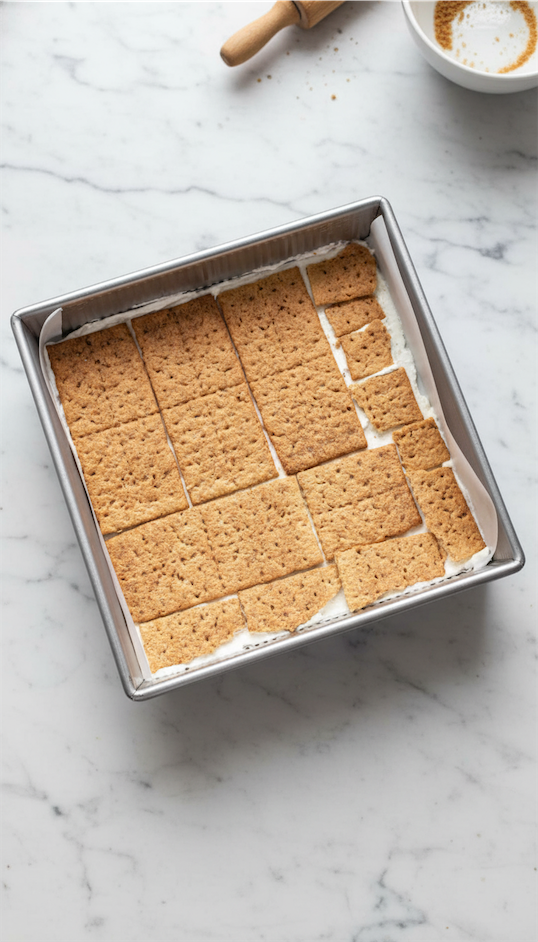
Start with whole sheets and break them along the perforated lines:
- Break into halves, then into quarters if needed
- Use smaller pieces only to fill in edges or gaps
- Aim for a mostly even layer with pieces sitting side by side
Slight gaps are fine, as everything softens as it chills.
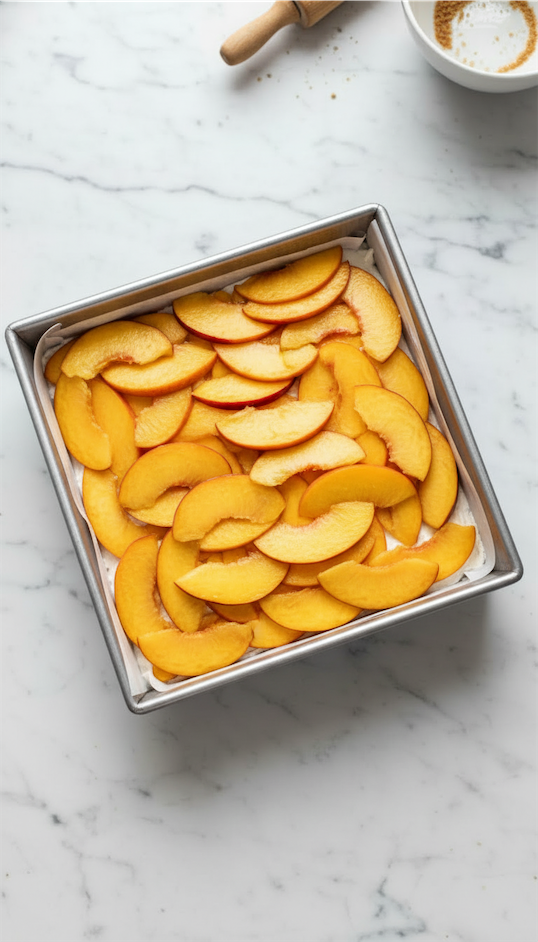
Once your cracker layer is down, add a layer of peaches, followed by a generous spread of whipped cream.
Repeat the Layers
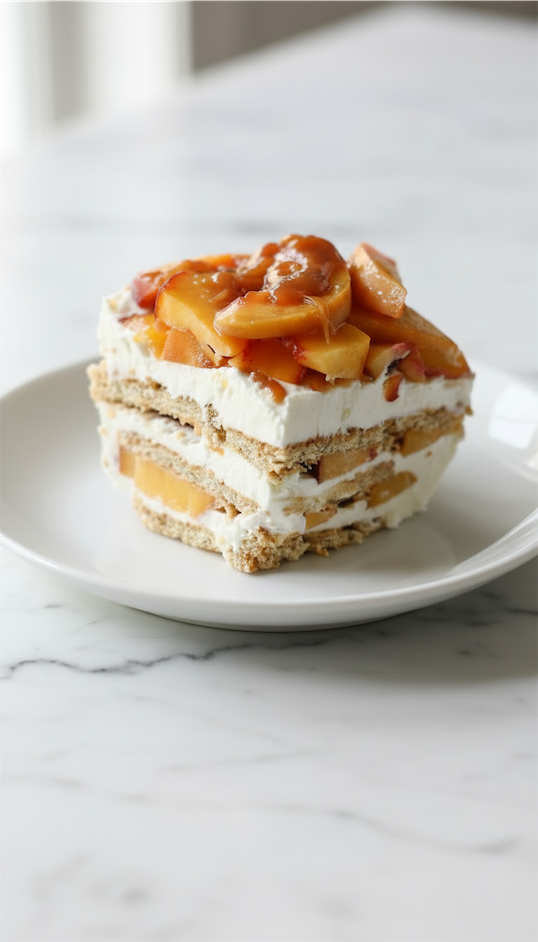
Continue layering crackers, peaches, and cream until you’ve got about three layers.
If using canned peaches, don’t overload each layer, keeping things balanced helps avoid excess softness.
Finish with a thick layer of whipped cream on top. A few swirls make it look extra inviting.
Chill and Let It Set
Cover the dish and place it in the fridge.
Let it chill for at least 2 hours, but overnight is ideal. This is when everything transforms, the crackers soften, the layers meld, and it becomes sliceable like cake.
Make the Caramel
Combine the caramel and heavy cream in a microwave-safe bowl. Heat in 30-second intervals, stirring each time until smooth.
It should be silky and pourable. Let it cool slightly before using.
Finish and Serve
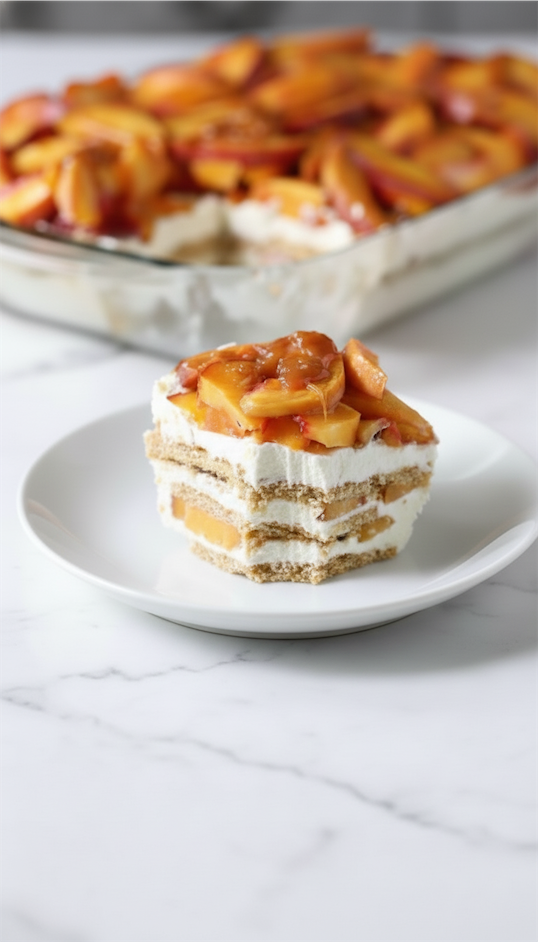
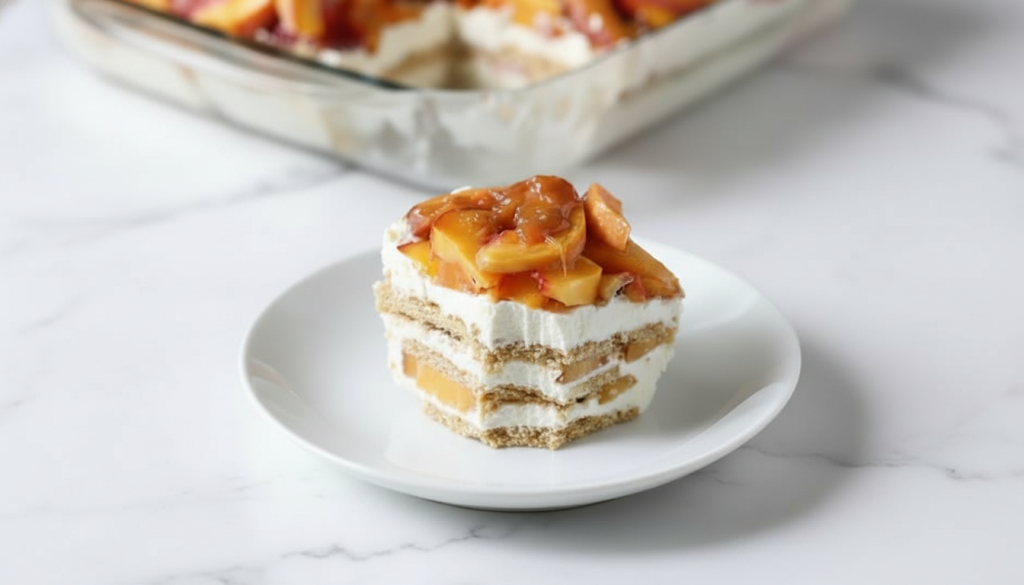
Once the cake is fully chilled and set, drizzle the caramel over the top whipped cream layer.
You can cover the whole surface or drizzle over individual slices, depending on how you want to serve it or how your guests like it!
Finish and Serve
Drizzle the caramel over the cake just before serving, or let everyone add their own.
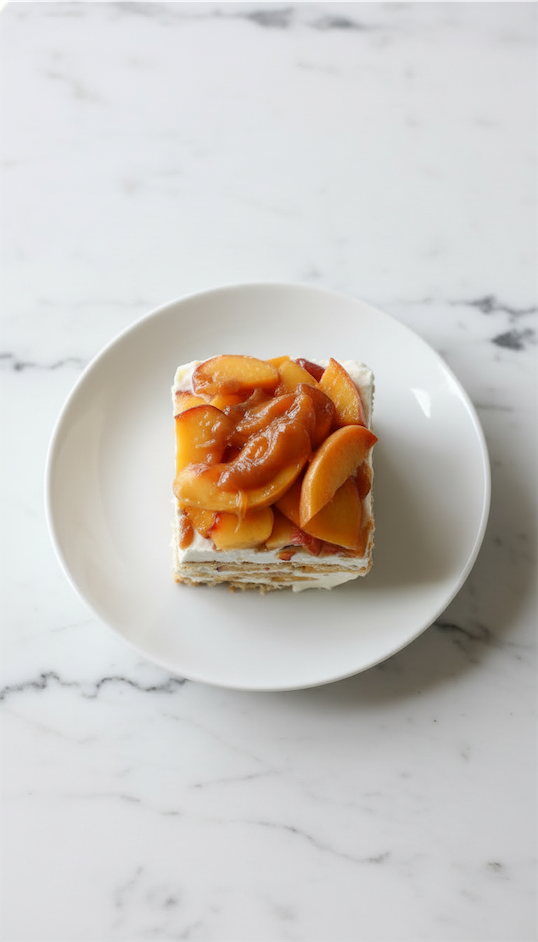
Slice into squares and serve cold. Creamy, soft, a little messy, in the best way.
Want to Switch Things Up?
Use what you have, adjust to your taste, make it yours.
- Swap peaches for nectarines or mango
- Use digestive biscuits or vanilla wafers instead of graham crackers
- Add a layer of lightly sweetened cream cheese for extra richness
- Mix in cinnamon or cardamom for a warmer flavor
- Skip caramel and drizzle honey or maple syrup instead
Toppings and Finishing Touches
A few extras can really elevate the whole dessert.
- Fresh mint for a pop of color
- Crushed biscuits or nuts for texture
- Extra peach slices on top
- A light dusting of powdered sugar
- Extra caramel drizzle (no one’s stopping you)
Storing and Make-Ahead Tips
Keep the cake covered in the fridge for up to 2 to 3 days. It actually gets better as it sits, the layers soften even more.
Freezing isn’t ideal since the cream can change texture.

Peach Icebox Cake with Caramel Drizzle
Description
A creamy, no-bake dessert layered with whipped cream, tender peaches, and softened graham crackers that transform into a cake-like texture. Finished with a smooth caramel drizzle for added richness.
Ingredients
Whipped Cream Layer
Peach Layer
Layers
Caramel Drizzle (Optional)
Instructions
Whip the Cream
-
In a large mixing bowl, combine the heavy cream, powdered sugar, and vanilla extract. Using a hand mixer, start mixing on low speed, then gradually increase to medium-high. Continue beating until soft peaks form and the mixture looks smooth, thick, and fluffy. The cream should hold its shape but still feel light and airy.
Prepare the Peaches
-
If using fresh peaches, place the sliced peaches in a bowl and toss with the lemon juice until evenly coated. Let them sit for a few minutes until slightly softened and glossy. If using canned peaches, drain them thoroughly in a colander, then gently pat dry with paper towels to remove excess moisture. Slice if needed, then toss lightly with the lemon juice. The peaches should taste bright and not overly sweet.
Build the First Layer
-
Lightly coat the bottom of a 9 x 13 inch baking dish with a thin layer of whipped cream to help anchor the base. Arrange graham crackers in a single layer, breaking them into halves or quarters to fit the dish neatly. The pieces should form a mostly even layer with minimal gaps. Spread a layer of peaches over the crackers, followed by a generous layer of whipped cream, smoothing it gently with a spatula.
Repeat the Layers
-
Continue layering graham crackers, peaches, and whipped cream in the same order until you have three layers. Press the crackers lightly into the cream so they make full contact. Finish with a thick, smooth layer of whipped cream on top. The surface should look even and softly swirled.
Chill the Cake
-
Cover the baking dish tightly with plastic wrap and place it in the refrigerator. Chill for at least 120 minutes or until the layers have softened and the cake feels set. For best results, chill overnight. The graham crackers will absorb moisture and become tender and cake-like.
Make the Caramel
-
In a microwave-safe bowl, combine the soft caramels and heavy cream. Heat in 30-second intervals, stirring between each interval until the mixture is fully melted and smooth. The caramel should be glossy and pourable. Allow it to cool slightly so it is warm but not hot.
Finish and Serve
-
Remove the chilled cake from the refrigerator. Drizzle the caramel over the top layer of whipped cream just before serving. Slice into squares using a sharp knife and serve cold. The layers should appear soft, creamy, and well-defined.
Note
Store the cake covered in the refrigerator for up to 3 days. The texture will continue to soften over time.
If the cake feels too soft when slicing, allow it to chill longer to fully set.
If using canned peaches, ensure they are well drained to prevent excess moisture in the layers.
The caramel can be reheated gently if it thickens before serving.